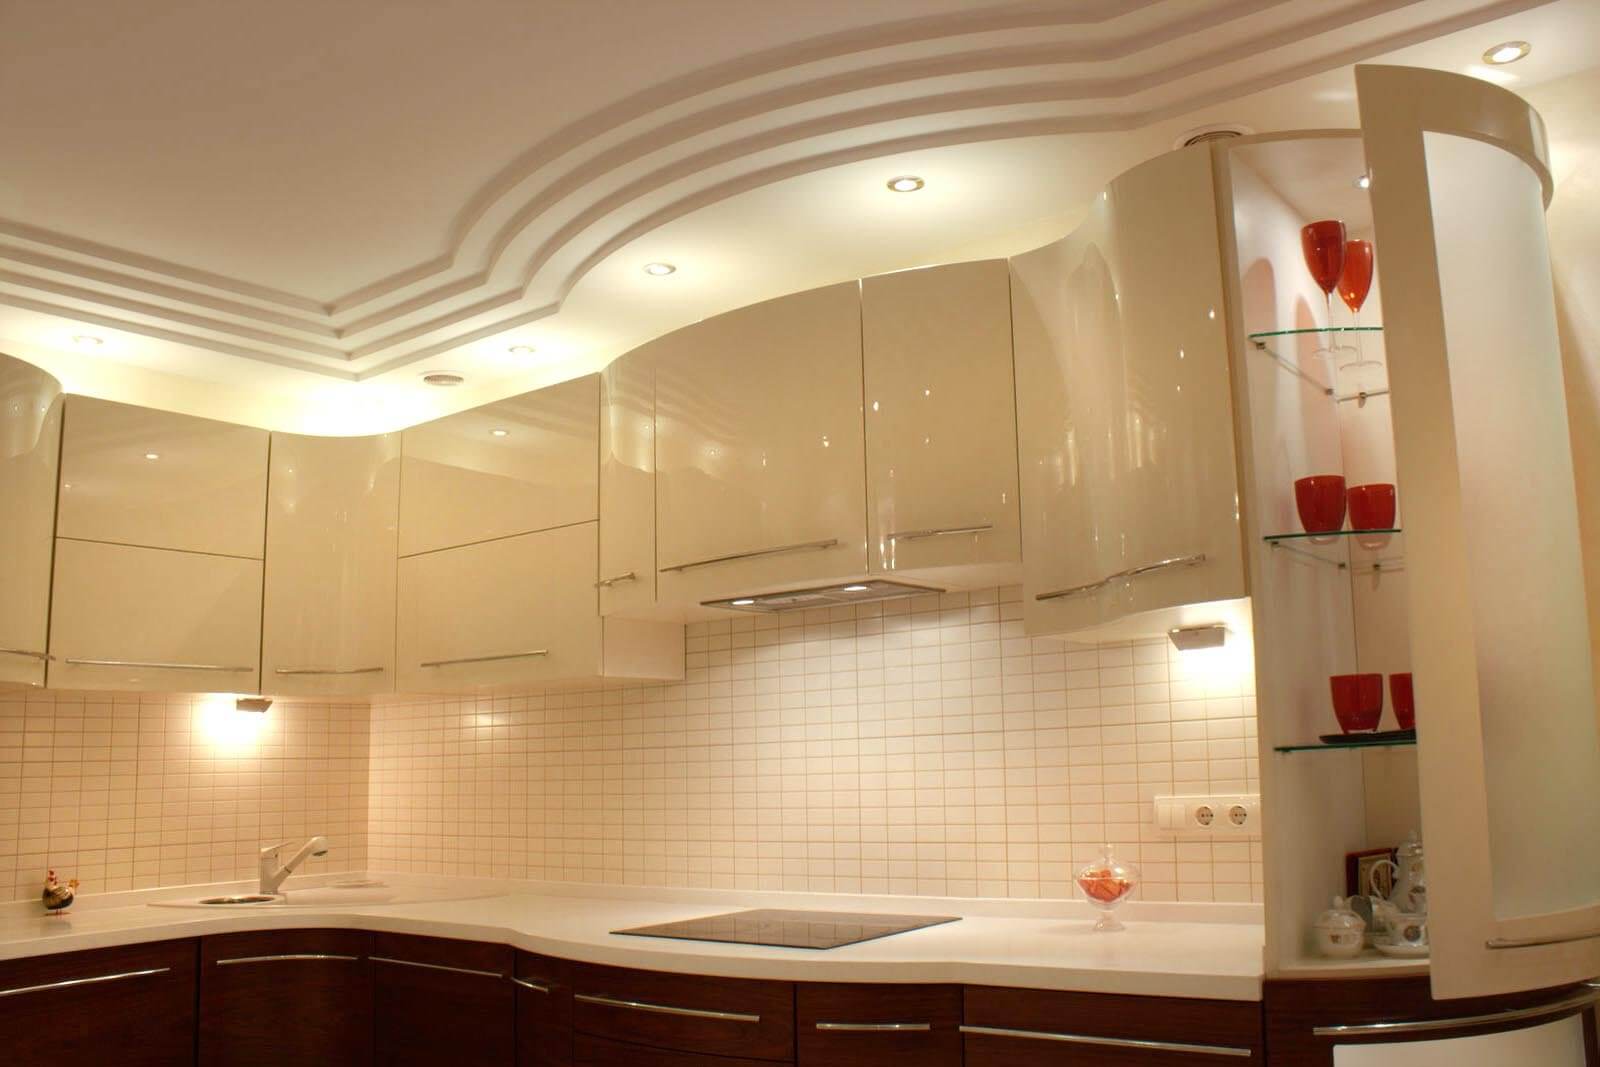
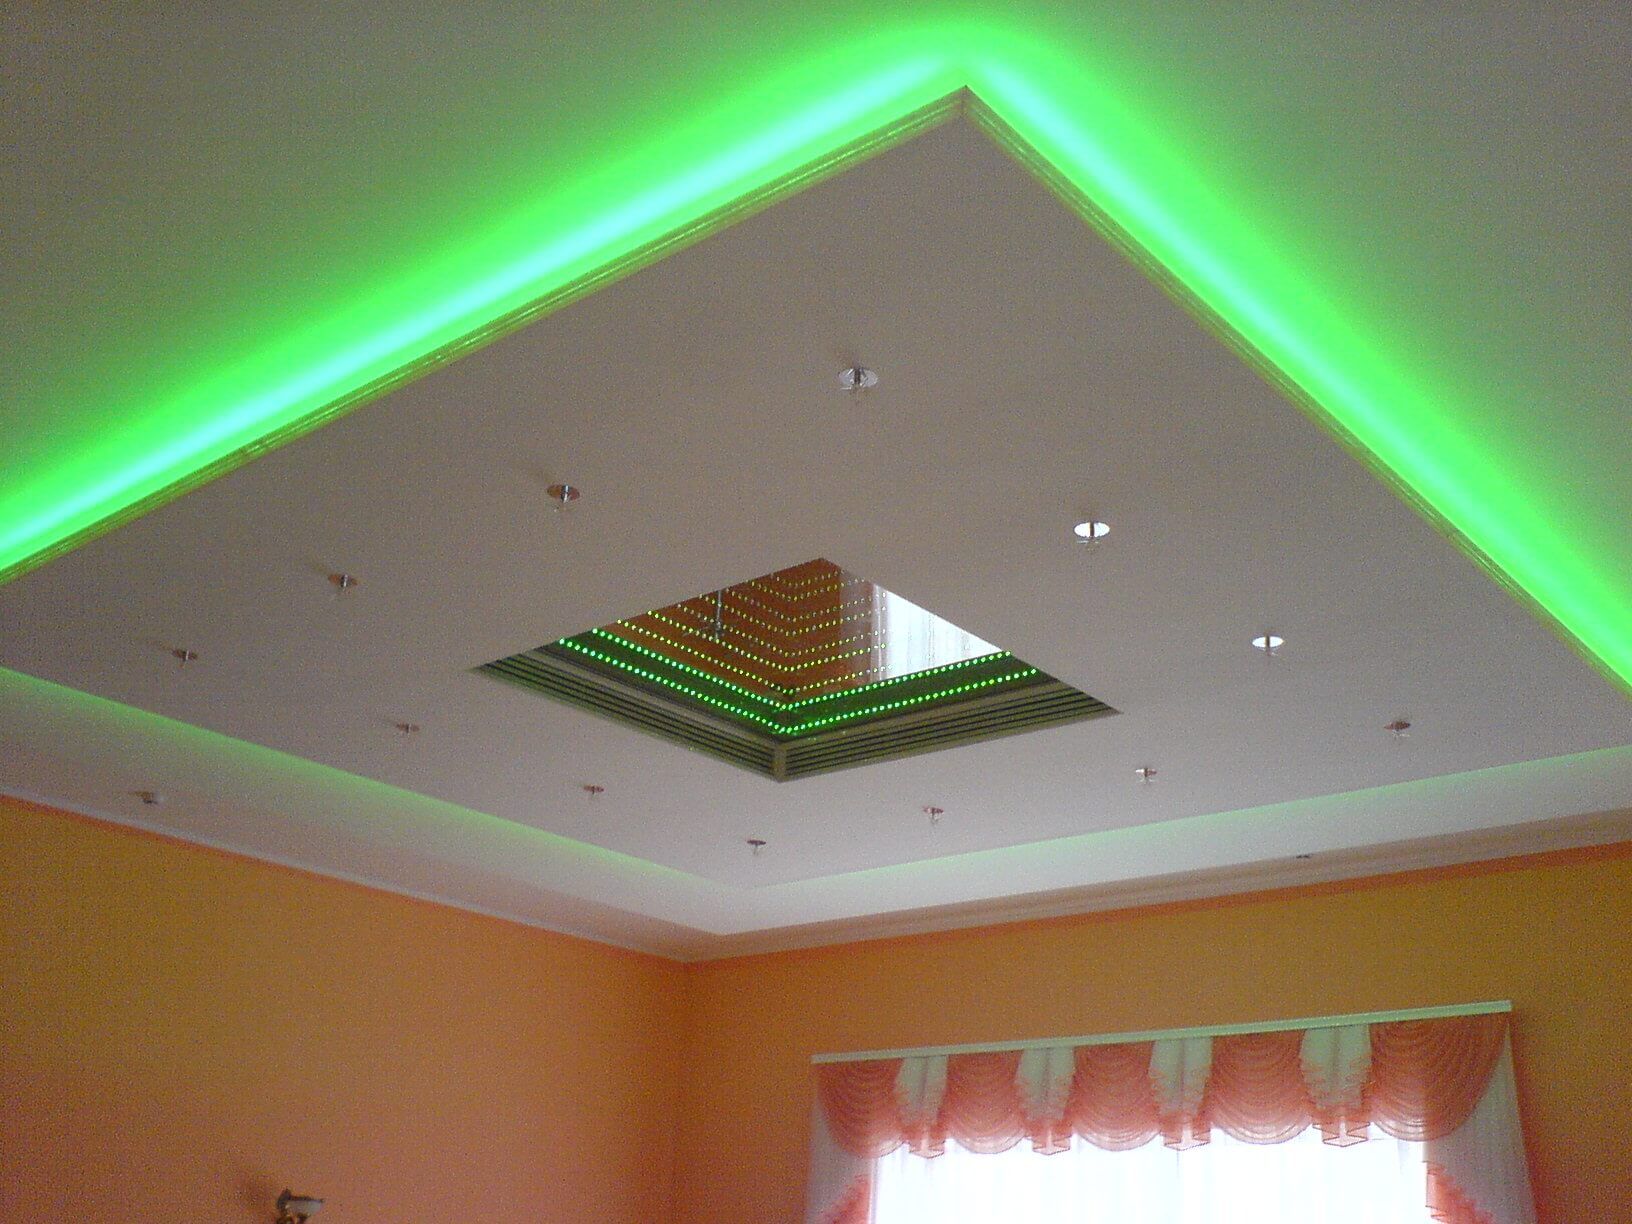
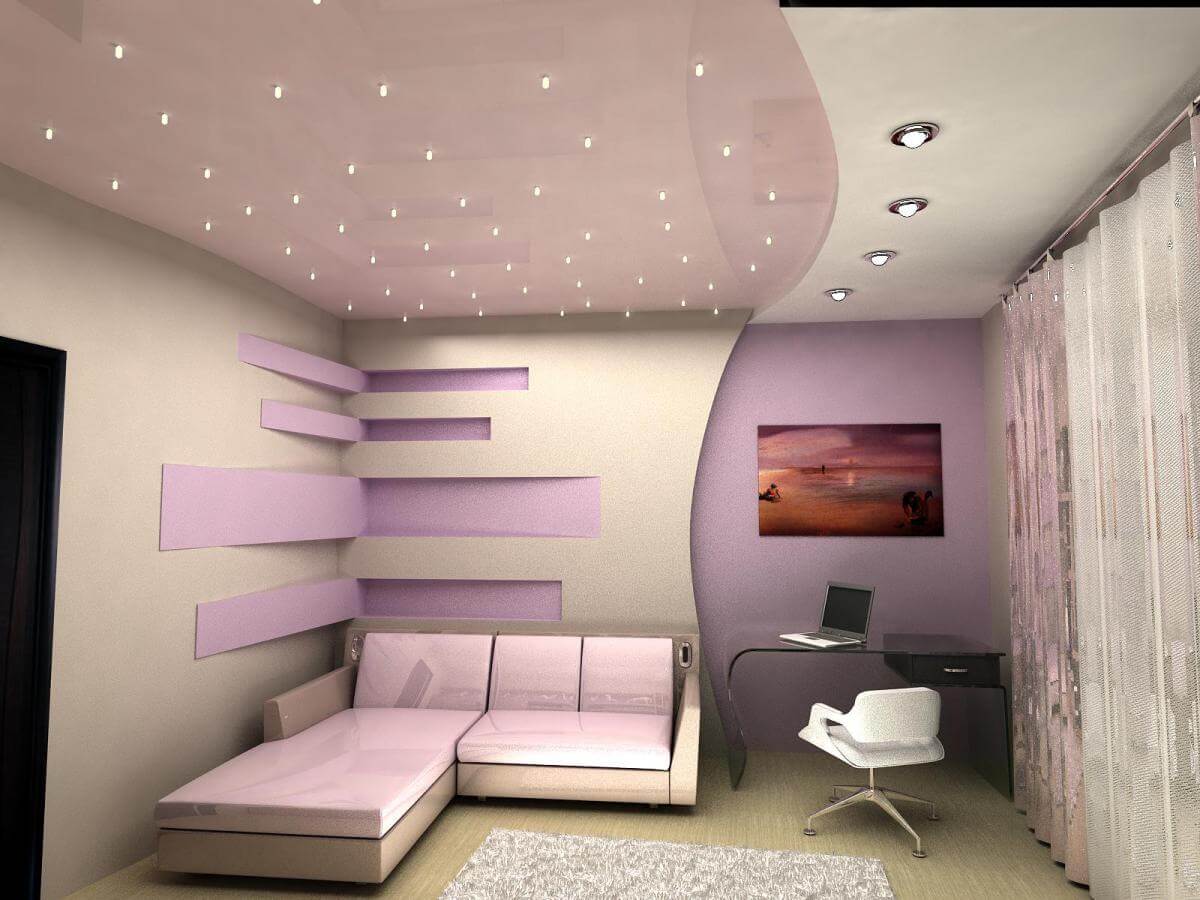
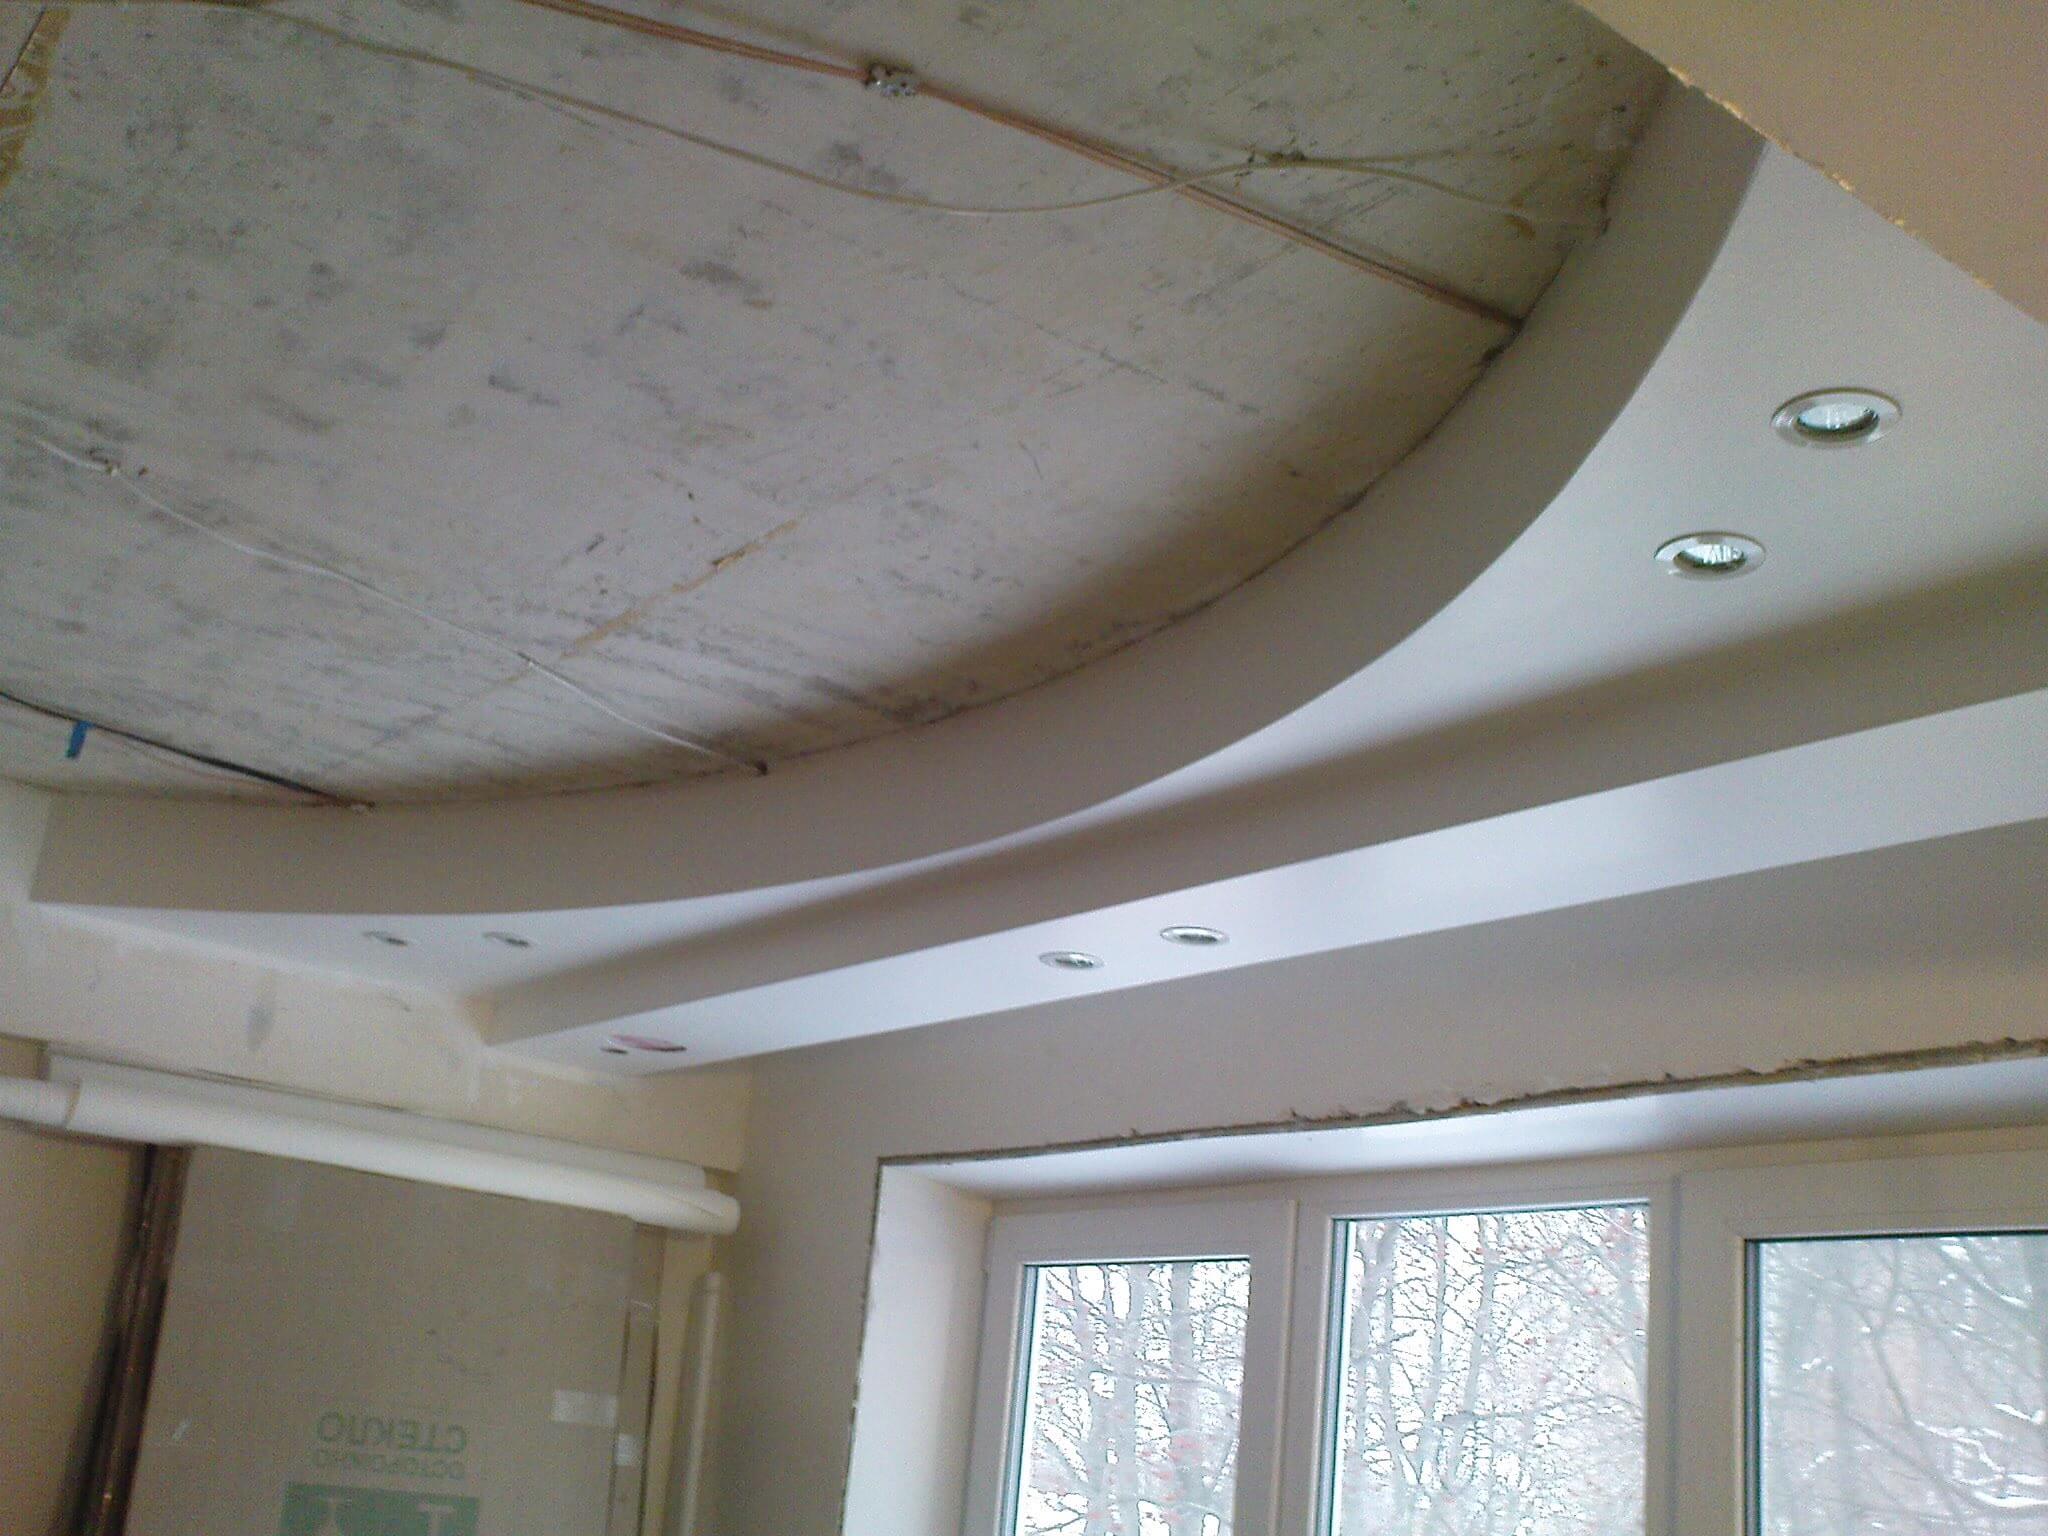
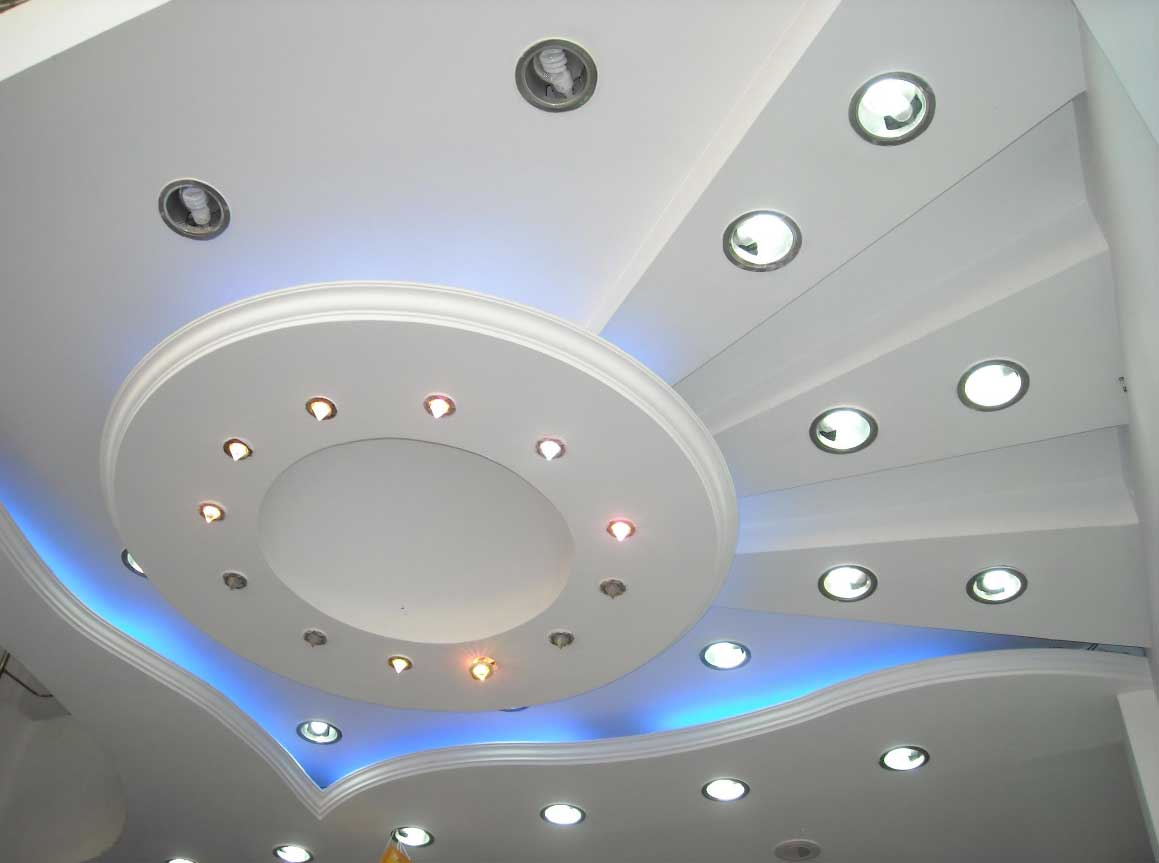
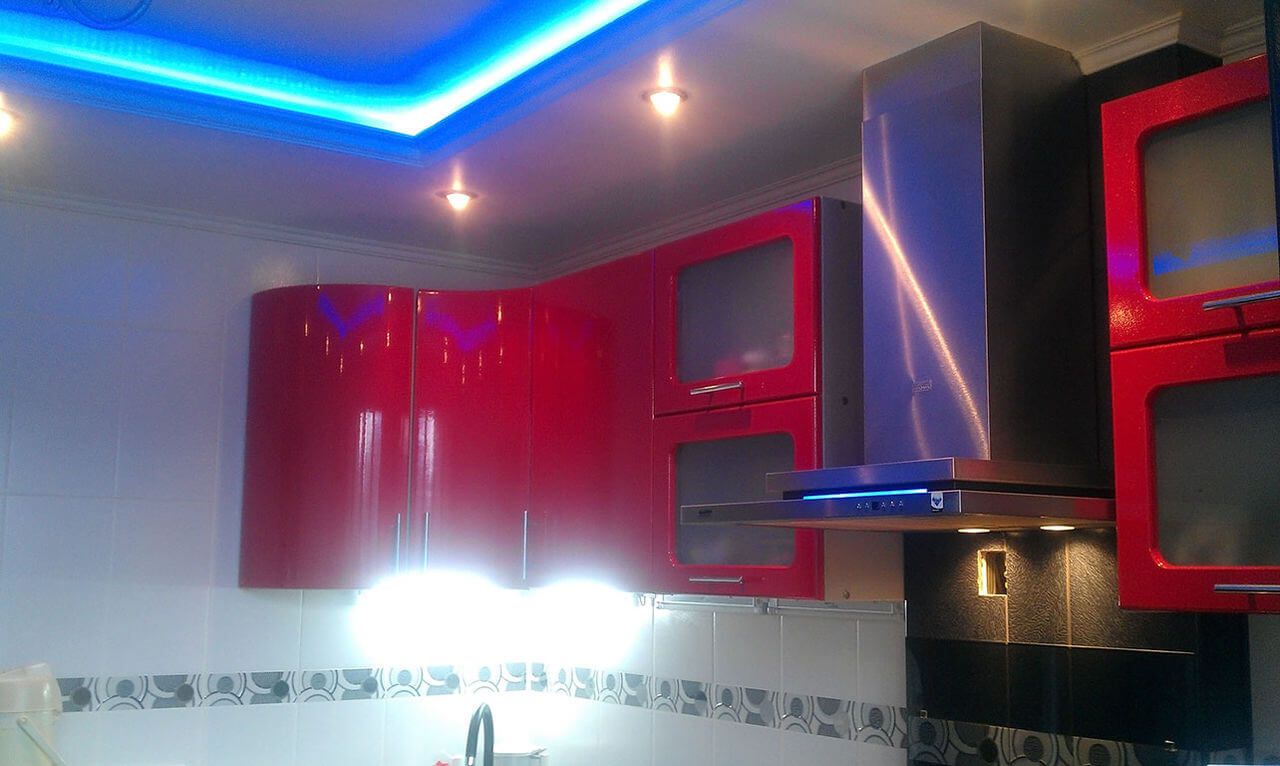
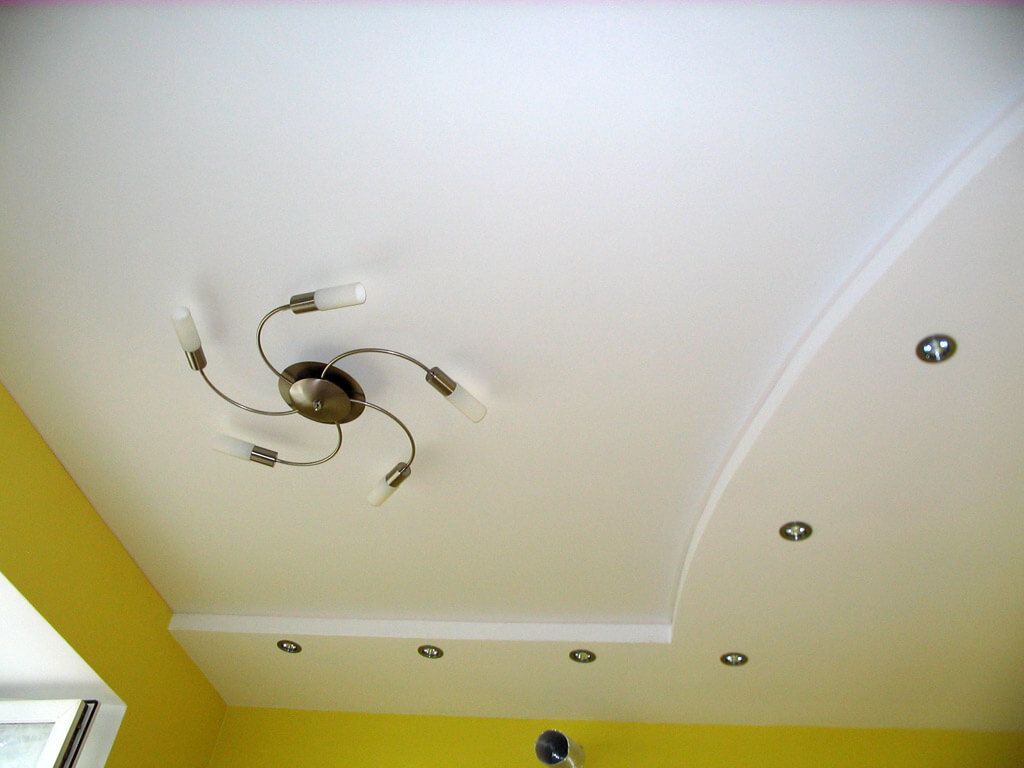
Plasterboard ceiling finishing design ideas for apartment allows creating almost any shape: a variety of twists, curly and multi-level solutions. It is able to hide irregularities, utilities, electrical wiring. The loss in height of the room can be from 5 cm, it all depends on the structure and design solutions. It is worth noting that the plasterboard afraid of water, so it’s rarely used in the decoration of the bathroom.
Benefits of Plasterboard Ceiling Finishing:
- able to even out any defects and irregularities of the ceiling, while as for plastering alignment layer must be not more than 20 mm;
- able to hide available wires, beams, pipes, etc.;
- create complex lighting options;
- any form of niches for illumination, a different number of levels – all this can be done with plasterboard;
- allows hiding the heat and sound insulation materials;
- the work process does not contain “wet” moments – no need to wait until the surface of the ceiling dry.
- ease of design.
Disadvantages of Finishing the Ceiling Plasterboard
- loss of room height of at least 5 cm, depending on the surface curvature and complexity of the design;
- relatively complicated installation process;
- you must protect a plasterboard ceiling from direct contact with water. If there is a flood, the entire structure will lose its shape. Moreover, in the worst case, it will collapse. It should be noted that drying, in this case, will not help. The ceiling will not be able to take its former shape. Therefore you can correct the situation only by repeated repair and installation.
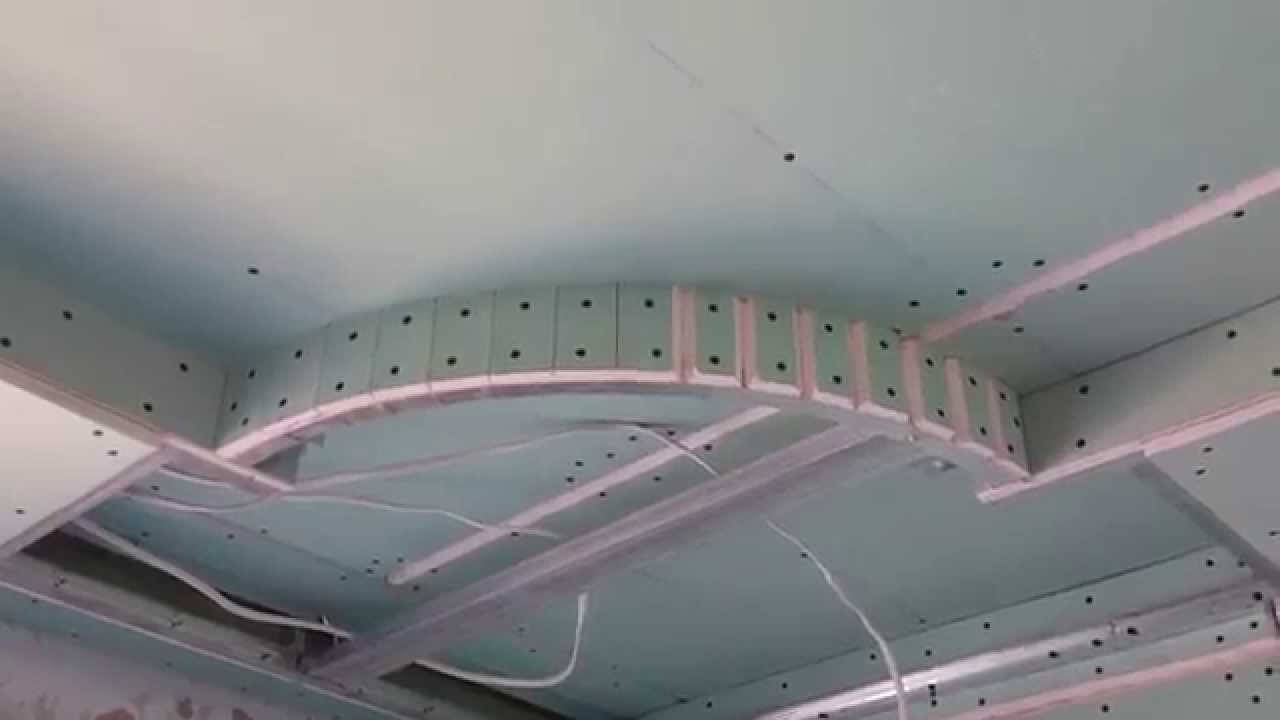
A cold bent metal profile with a thickness of not less than 0.5 mm is applied for mounting frame suspended plasterboard ceiling. Using a thinner profile can contribute to the whole ceiling construction deformity. Two profile types are used in assembling the frame: framed CD- 60 and guided UD-27 of 3000 and 4000 mm length. Professionals also use spring suspensions, the connector “Crab”, connectors for a perpendicular profile, duplex connectors during installation. But it’s not the whole list of elements, there are others but they are all similar to each other and complement each other.
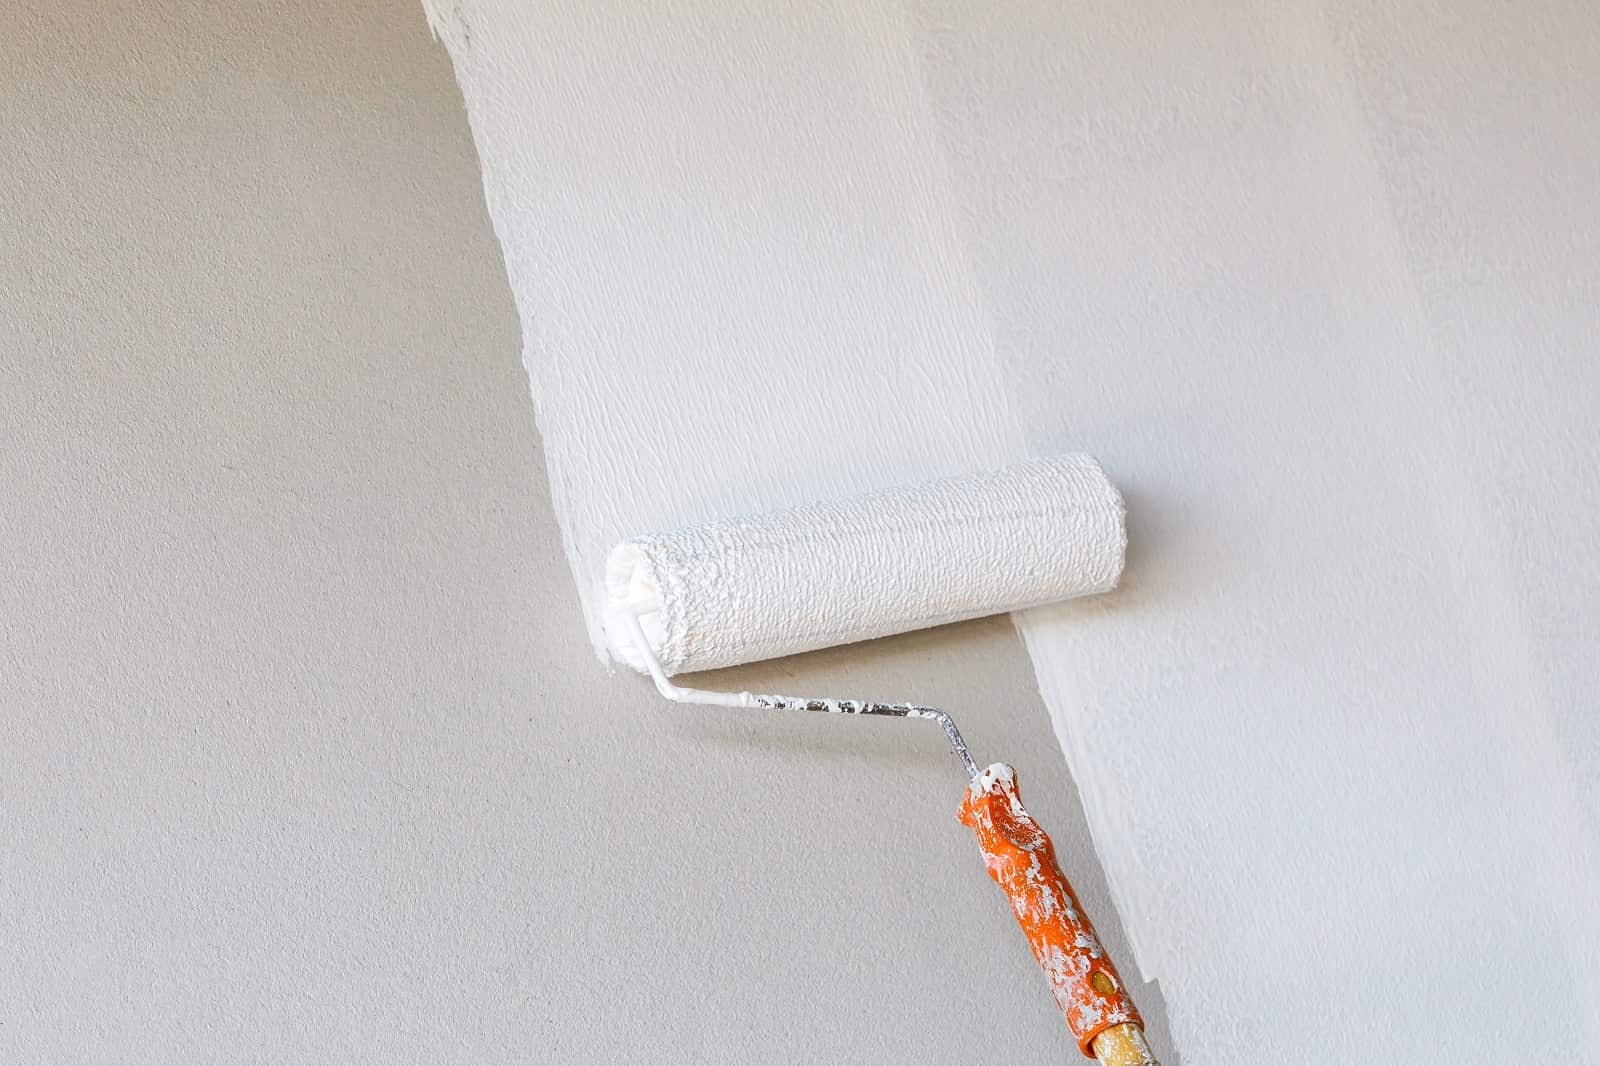
Preparation of plasterboard ceiling for painting:
- first of all, the ceiling must be primed (preferably with acrylic primer);
- after the first coat is dry, begin to plaster up seams and screws with undercoat putty;
- after the putty layer is dry, seal the joints with reinforcing tape;
- putty seams once more to get a plane to the ceiling;
- the whole ceiling is glued by glass fleece, paste it with fiberglass adhesive;
- after the glue has dried, apply the base plaster and then top plaster after the first layer is dry;
- clean the ceiling with sandpaper until smooth surface and prime it then;
- finally, we can proceed to paint (at least 2 layers).
Conclusion
Finishing the ceiling with plasterboard is a quite complex process. And if it is a multi-level ceiling with uncommon lighting – it can be considered even as art. This work has a lot of nuances, details, and other problems that affect the result. It is difficult enough to describe the whole process of finishing the ceiling in a single article. It will be more similar to a manual in several volumes.

