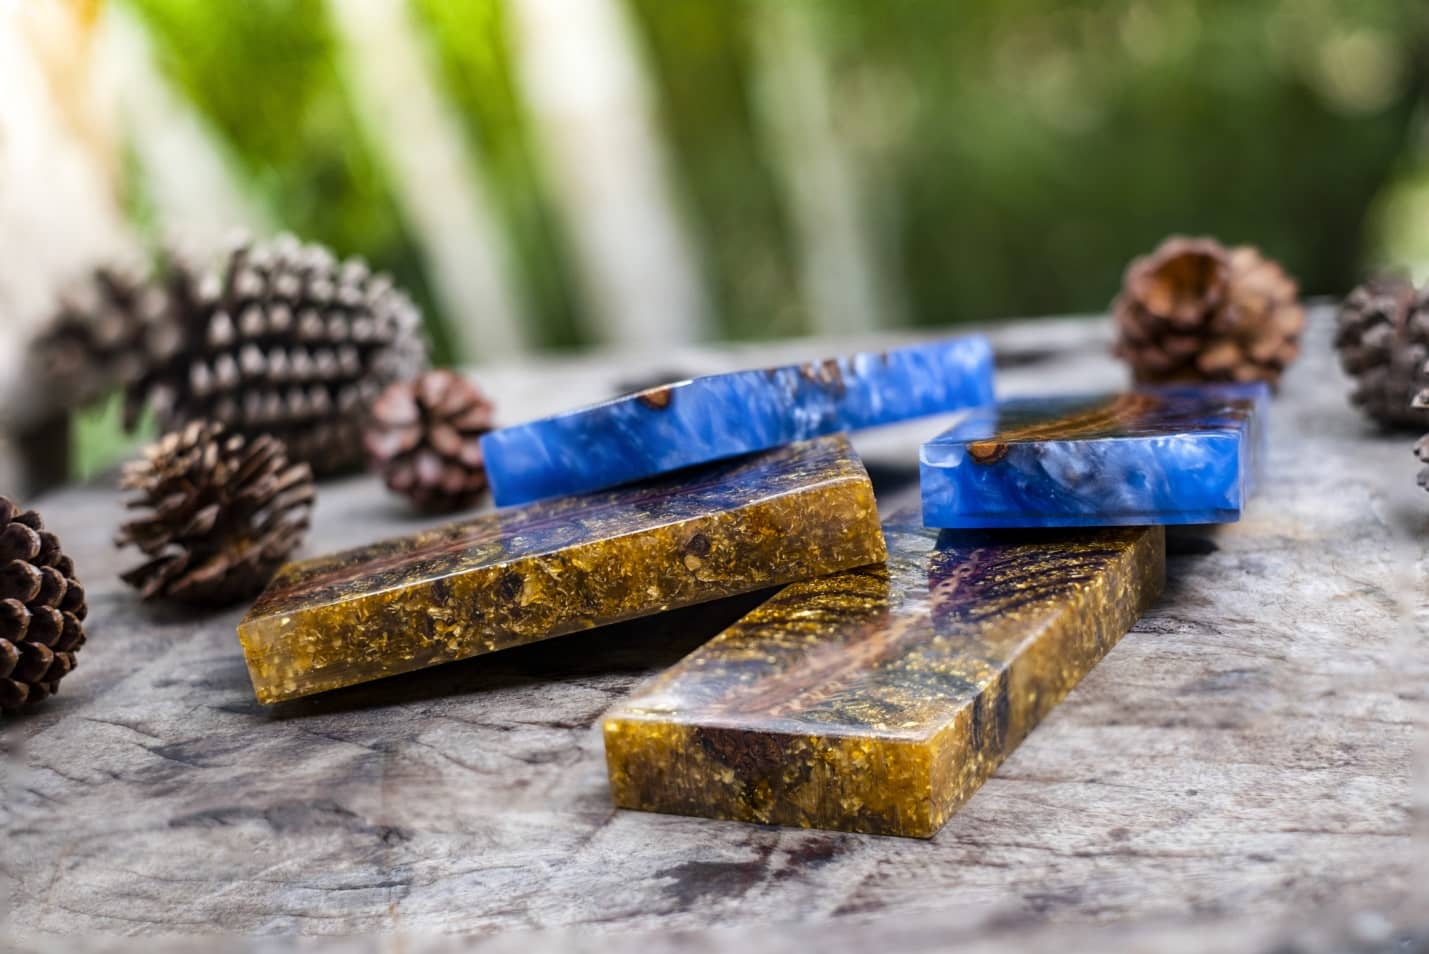
Molding and resin casting can be difficult when you do not know what you are doing. Check out this guide to learn more about molding and resin casting.
You may have seen a Youtube video or two where the person creates a mold and then a resin replica. Many of these people are experienced, but molding and resin casting can be done by anyone!
It’s a great craft project for kids, families, and friends. Molding and casting is just as rewarding when you do it by yourself. You can make jewelry, pendants, miniature animals and objects, and even add resin to tabletops.
Continue reading for a step-by-step guide on molding plastic and casting resin.
What You Need
Here are the items you’ll need for your project. Keep in mind that you can make your own molds instead of buying them if you want to tackle the extra task. We’ll get to making molds in a bit.
- Casting resin mold
- Mixing cups
- X-acto knife or razor blade
- Tweezers
- Mold release
- Rubber bands
- Popsicle sticks
- Small paintbrushes
To make a DIY mold:
- Casting resin
- Mold putty, modeling clay, or molding and casting rubber
- The item you’re replicating
- Timer
If you decide to buy a casting mold, you can choose from plastic, rubber, and glass. Glass molds are used by a lot of expert resin crafters. They don’t have to be labeled “mold” and can be any glass container you have in your house.
Step 1: Make the Mold
Skip to the second step if you already bought a mold.
To make your mold, start with your mold putty. You can buy mold putty in a box or kit. Make sure you follow the instructions on the box.
Now that you have your molding clay you can create the casting mold. Put the clay around the item you want to replicate with resin. For example, if you want to make a resin sphere with swirls of glitter you’d use a spherical item like a large marble.
Push down on the clay to eliminate any air pockets. You want an even layer of clay around the object. This will make the resin product an exact replica of the original item.
Set your timer for an hour and let the clay completely harden. It’s important that the time you wait is precise. You can’t work with clay that is still partly soft or you could mess up the shape of the mold.
Once the hour is up, use an x-acto knife or razor blade to remove any clay that ended up on the back of the item. This needs to be cut off so you can easily pour the resin and take out the final product.
Take your time when you do this. You could cut off too much or injure yourself if you’re trying to rush.
Remove the object (slowly, but surely) and you’re left with one-half of your own homemade casting mold. Repeat this process to make the other half of your mold.
Step 2: Check the Mold Instructions
If you bought a mold, you need to read all of the directions. Plastic molds require a mold release whereas silicone molds shouldn’t. Some molds require an extra step before you pour the resin.
Silicone molds are more expensive than plastic molds, but they can be used more than once as long as you store them correctly.
You can find molds of pretty much anything online – simple shapes like spheres and squares to stones, flowers, animals, and more. Let your imagination run wild!
Consider buying a kit if you’re interested in doing multiple projects or want to continue resin crafting in the future. Mold kits contain a variety of mold shapes.
The cost can add up, so you’re better off making your own mold if you don’t want to spend a lot of money.
Step 3: Prepare the Mold
Use rubber bands to secure the two halves of the mold tightly together. For items that can’t stand alone, you can make a makeshift box from cardboard or foam pieces. If you don’t have either of these materials, there are other ways to keep your mold upright.
You need to be positive that it’ll stay standing while it’s hardening and curing.
Step 4: Prepare the Resin
Estimate how much resin you’ll need and pour it into a mixing cup. Use a scale to weigh how many ounces you have. Follow the instructions on the epoxy resin container to see how much hardener you’ll need. Some ratios are 2:1 or 1:1.
Measure the hardener in another mixing cup and then add it to the resin. Mix the parts together for two to three minutes or however long the directions say to mix. Scrape the sides and bottom of the cup to thoroughly mix the contents.
Step 5: Cast the Resin
Pour the resin slowly to stop air bubbles from building up. You must start pouring the resin as soon as it’s mixed.
Tap the mold to further remove any air bubbles. Use tweezers or the end of a small paintbrush to tap, especially if you have a smaller mold.
Feel free to get creative and add sequins, glitter, flowers, sand, and other little items to the resin. Place them into the resin with your tweezers and push them down (if you choose to) with your paintbrush.
Step 6: Check It
Hardening usually takes 24 hours. Carefully remove the mold and check for any abnormalities. Cast the resin again if there are inconsistencies.
Step 7: Let It Cure
Curing takes longer than hardening – about 72 hours. Once it cures, clean the resin product with a razor by cutting off rough edges and bubbles.
Coat your resin item with a clear, high-gloss sealer spray. This will give it a shiny appearance and protect it from scratches and wear.
Molding and Resin Casting Is Fun
Molding and resin casting is a fun activity that can be done by anyone. Always make sure you practice proper safety when working with razors and blades. You should also wear a mask and gloves when handling epoxy resin and hardener.
Follow these steps to make your own resin products!
Don’t forget to bookmark our site to never miss any of our latest posts!


